


Prerequisite : Microsoft Azure account, You can get it free for 12 months from here
In this series, I will take you from having a Zero knowledge of Coding to come up with your own fully fledged basic website. So that You can get a taste of Production.
After Completing this series, at least you can call yourself more than just a beginner in FullStack developemnt.
So let's have a look on our timeline -
1) We will build a server, and Deploy our Basic Website on Nginx with the help of our server
Part 1
2) We will Get a domain and SSL certificate for our website and link it to your server
Part 2
3) We will make our server more secure before proceeding further by diving into SECURITY
Part 3
4) We will add various tools in our server to make our work easier along with LoadBalancer
Part 4
5) In last I will guide you through various resources , by which you can take this learning to next level
Part 5
So, Let's begin 😉 You will have fun😜...trust me I am not like your College Prof.
Build a server, and Deploy the Basic Website on Nginx with the help of the server (Part 1)
So , first you need to create a free account from Microsoft Azure and then login with that account in Azure console.
After getting logged in, the Azure dashboard will look like this...
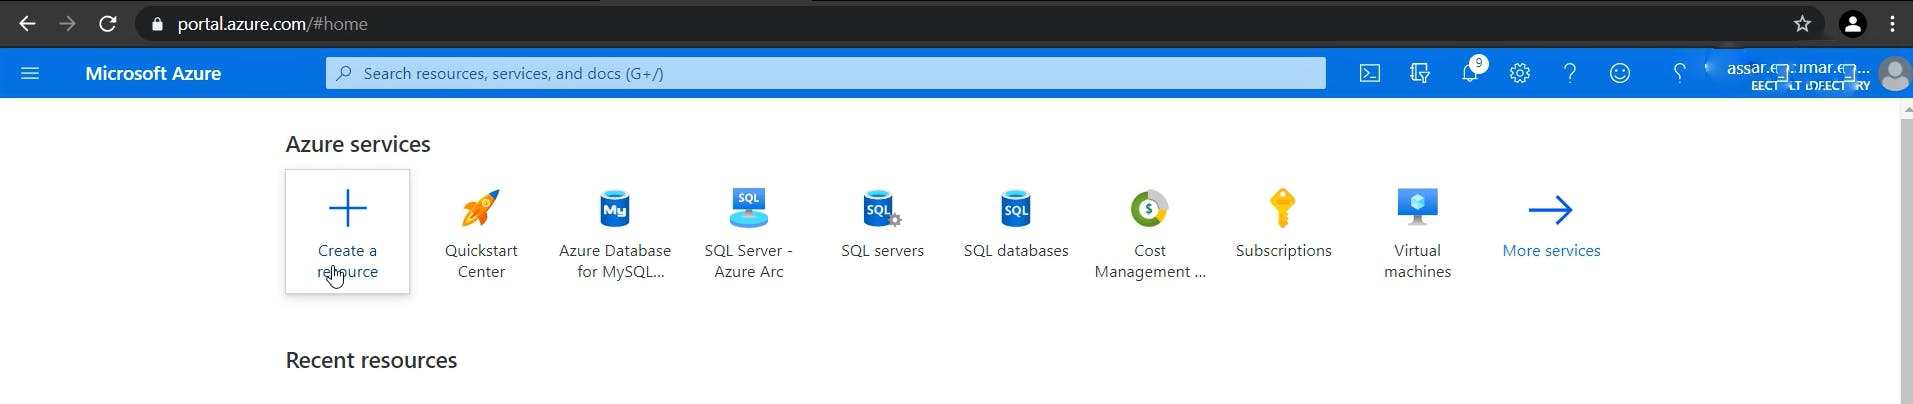
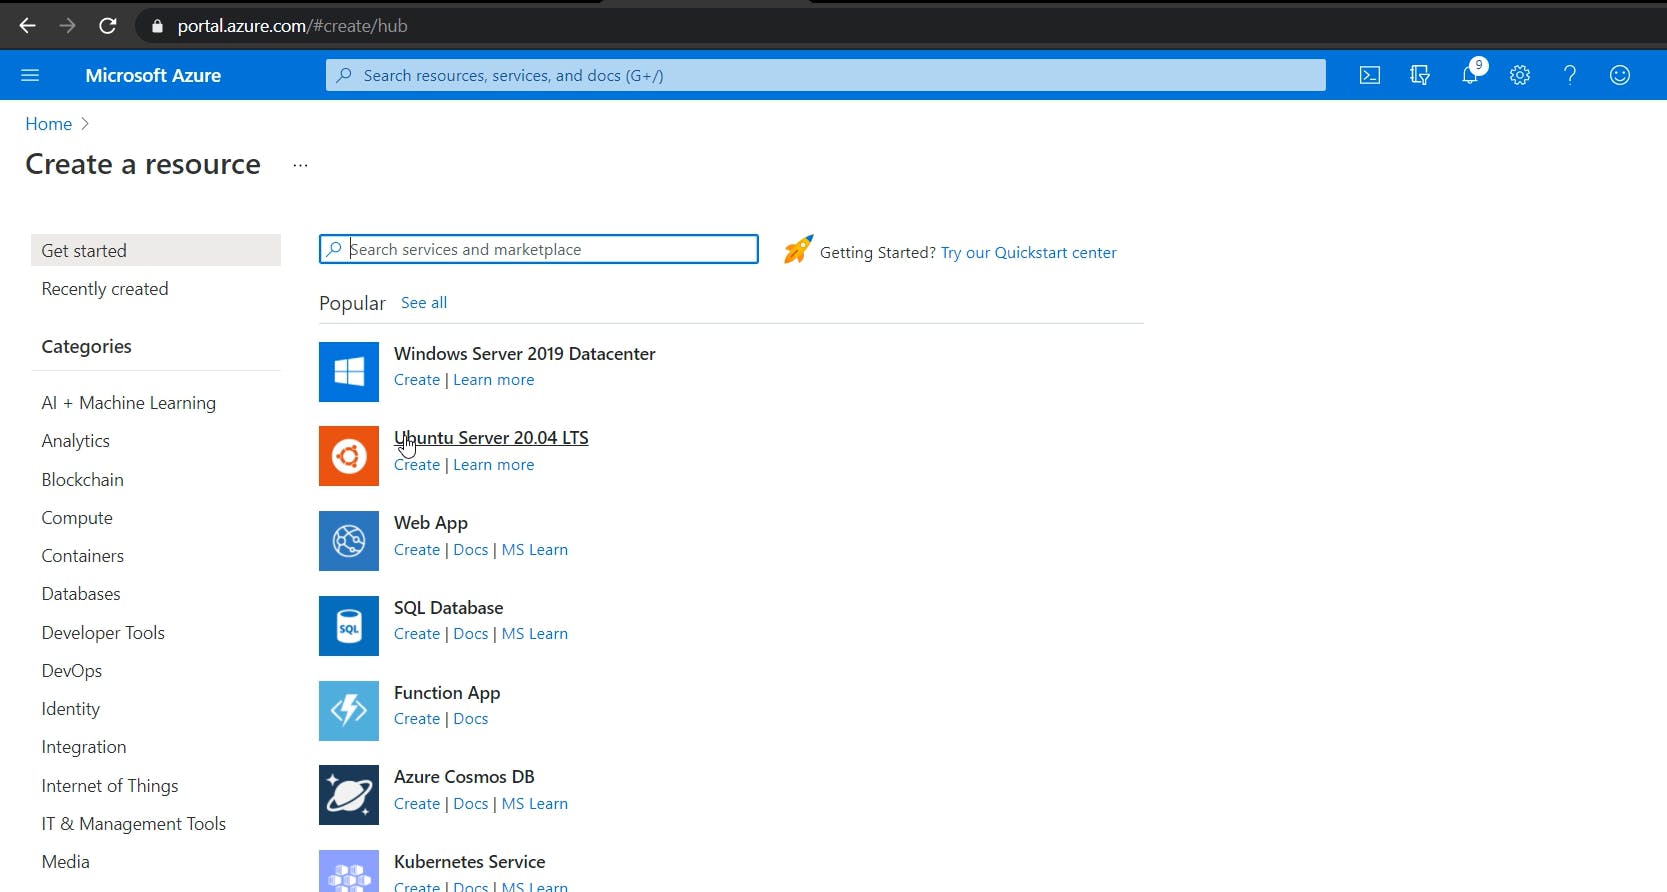
Click on Create a Resource and you will see a list of all the resources present in Microsoft Azure.
But right now we only want our server, So we will click on Ubuntu Server 20.04 LTS. I prefer Ubuntu, if you want to try any other OS you can go ahead.
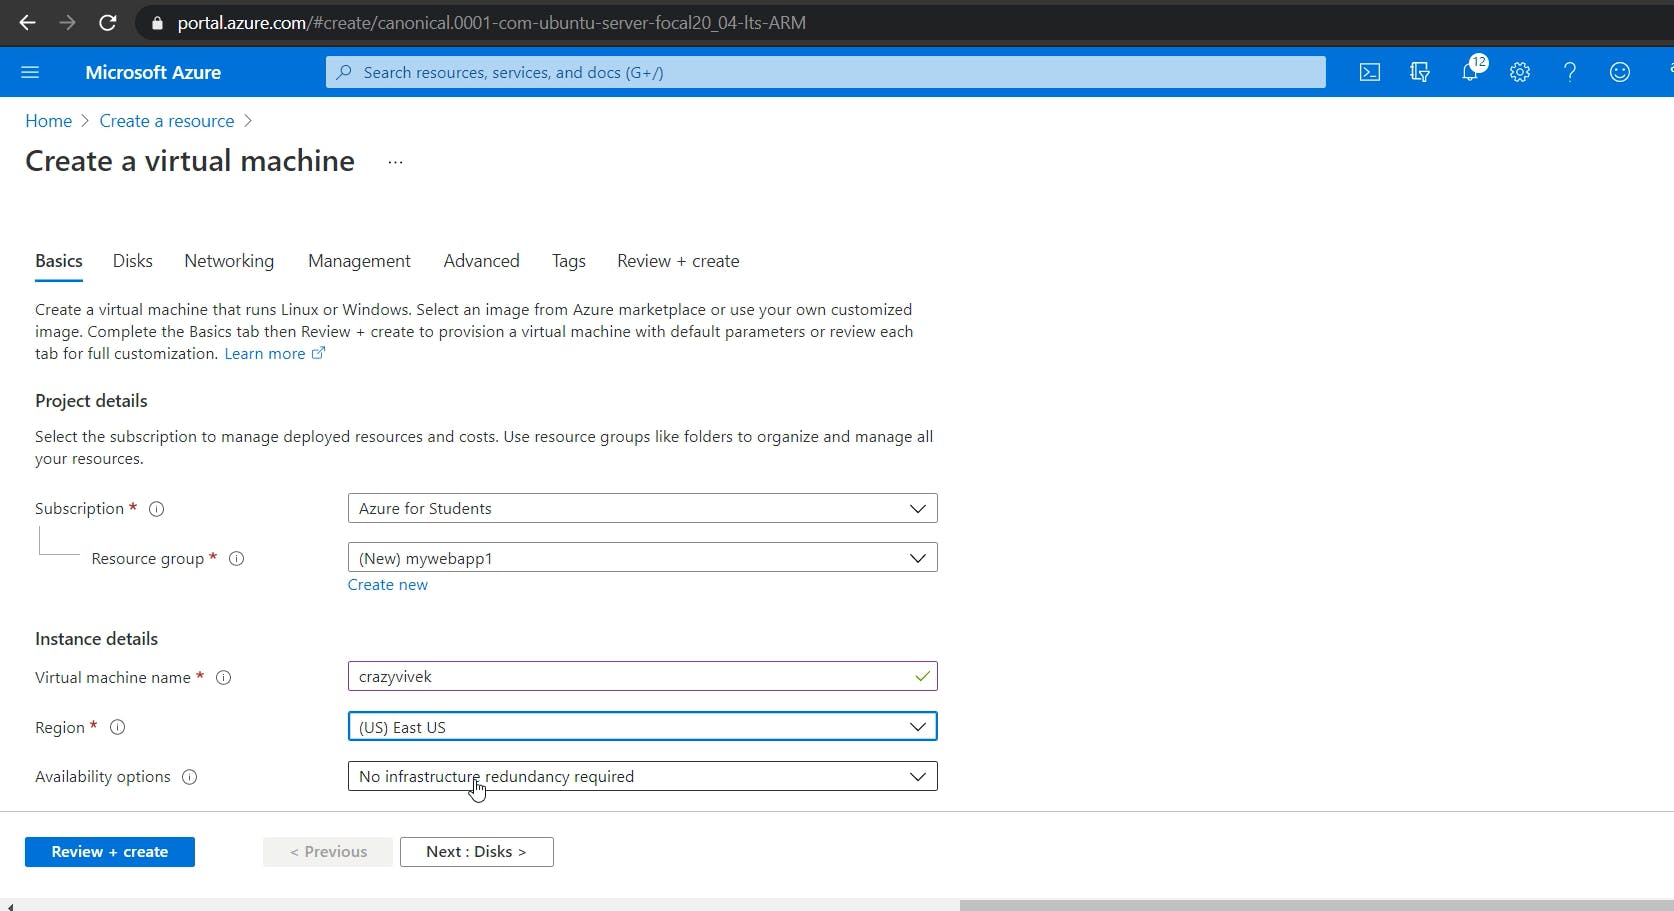
Now you have to provide some details about your server, that what should be the name of your server, region of your server (select US east), how much RAM you want in your server etc. In Resource Group, just create new resource grp where all your details will be saved.
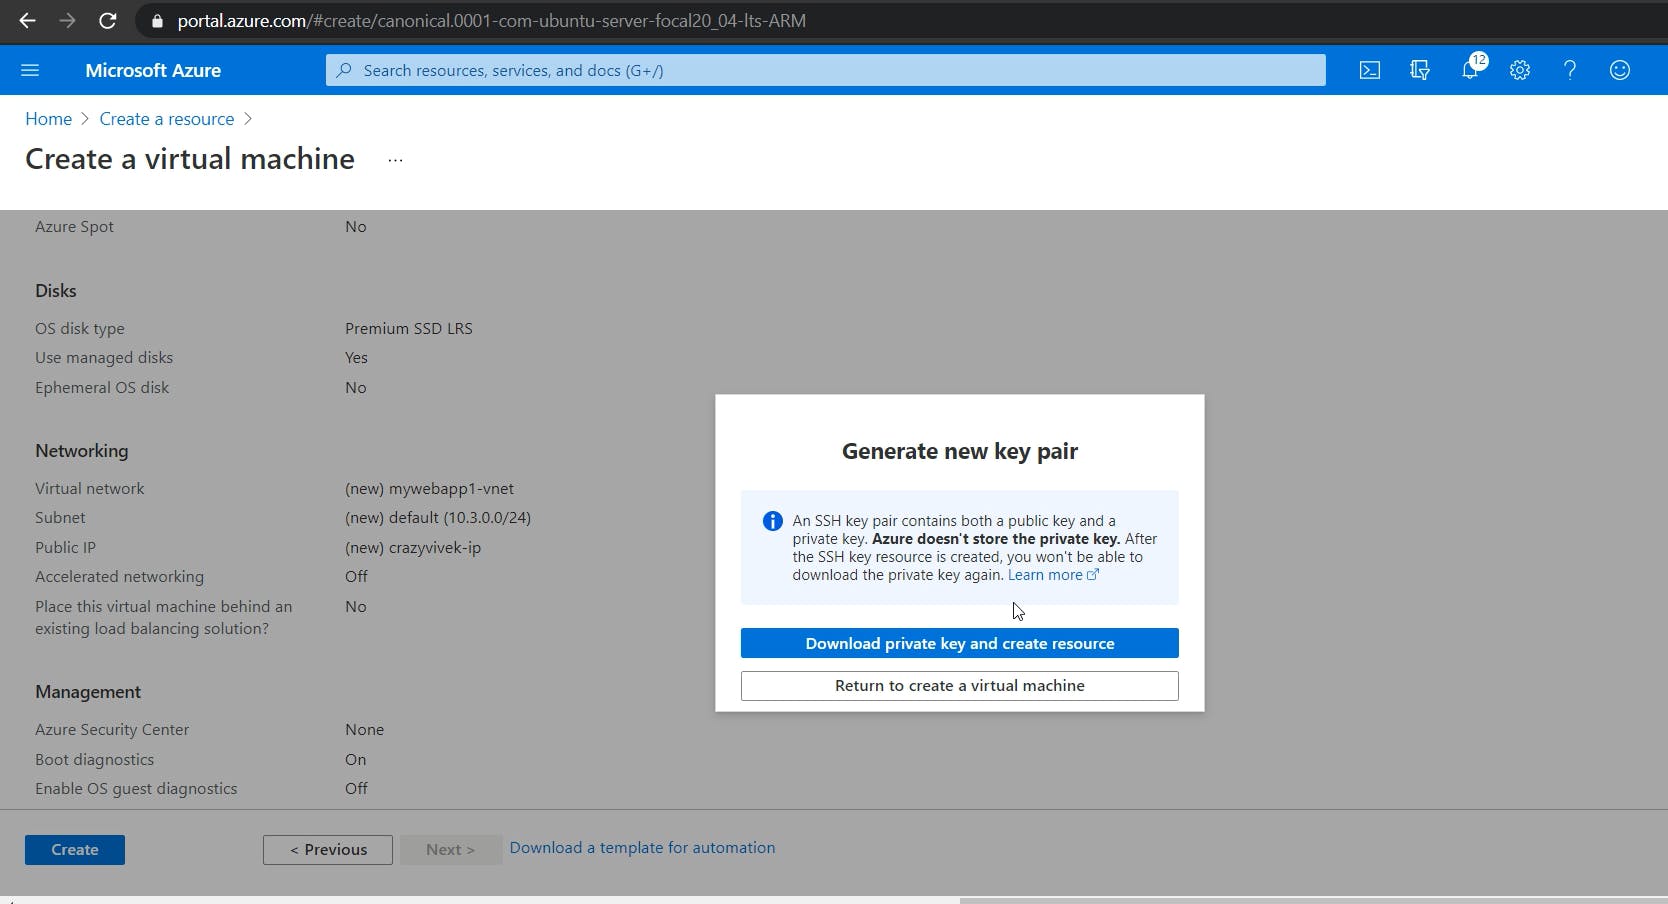
Provide your username (It can be anything). In the place of SSH public key source, select the Generate new key pair and below that give some name to your key pair. This is nothing but a kind of a password which Azure will generate for you and put it into a file called as pem file, and the person who have this pem file with them they only can open your server. So when you clicked on generate new key pair, you just told Azure that hey generate me a pem file named as crazyvivek (my key pair name) and I will download that pem file (containing the password generated by Azure) so that I can open my server.
And in last just select all the ports.
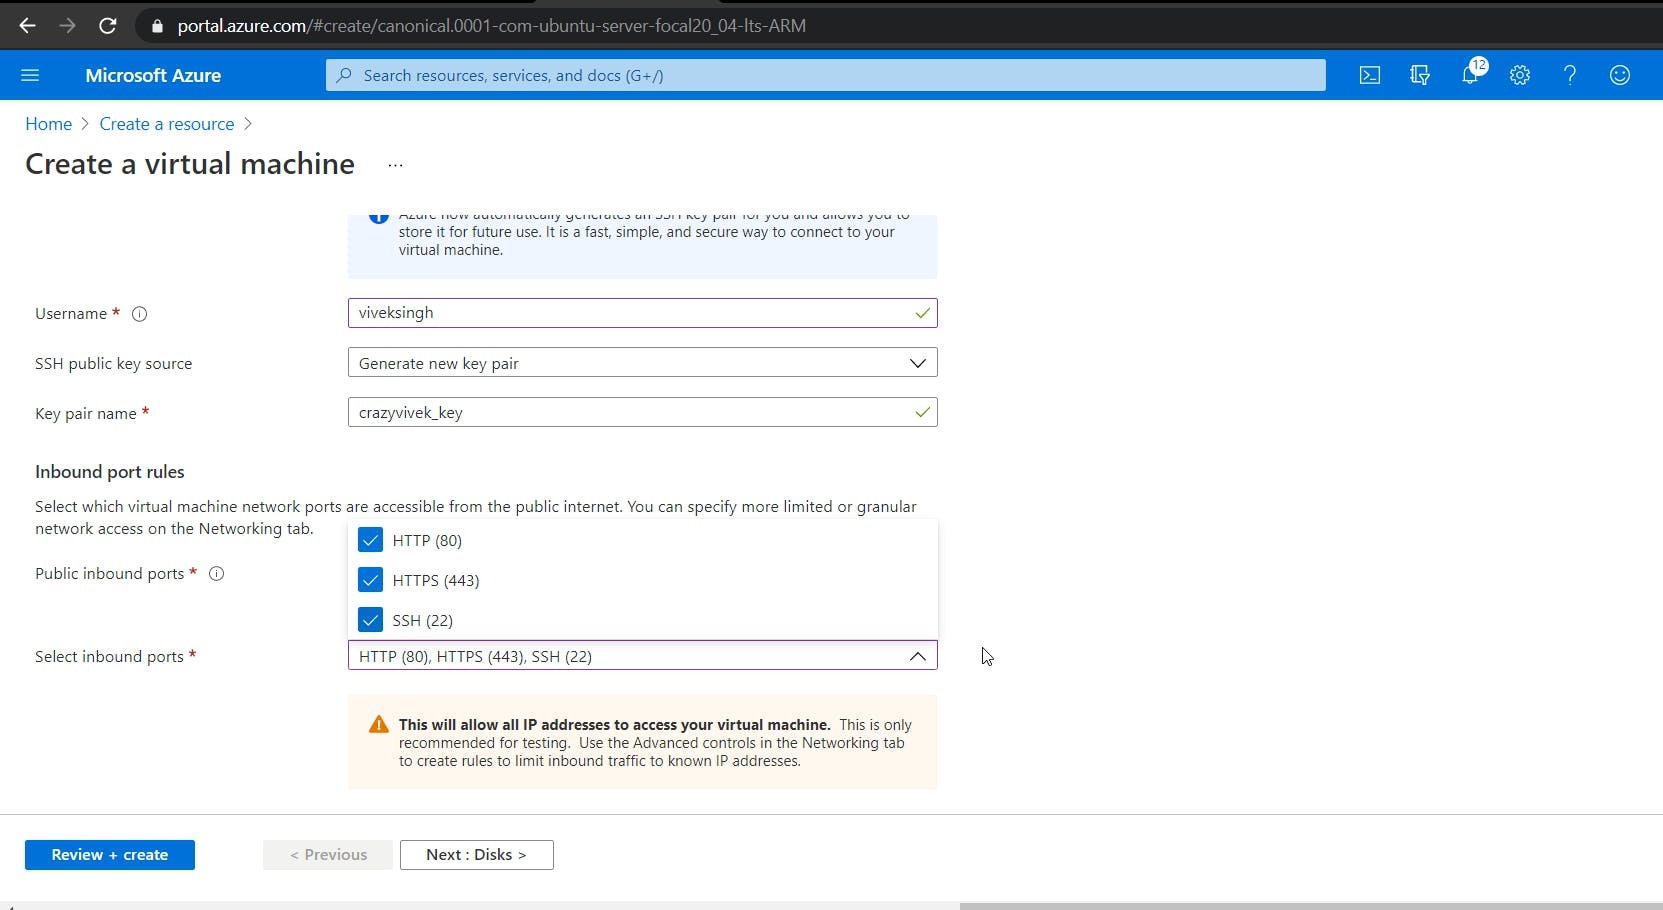
Click on Review + Create and after that click on Create
Now you will see a pop up saying that download your new key pair. Just download it
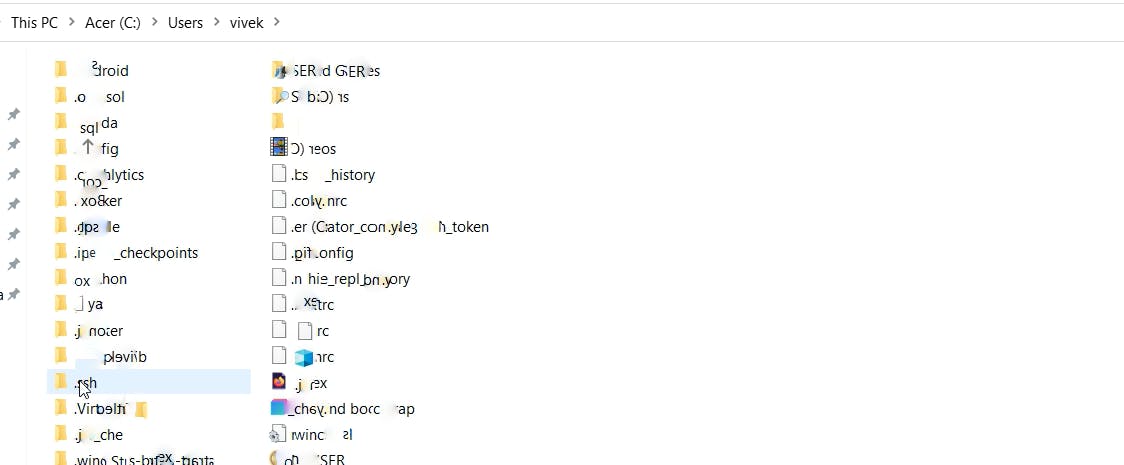
Once you Downloaded you pem file, just copy the whole file and paste it in your .ssh folder.
How to find, where is your .ssh folder
1) Go to your C drive 2) Go to the Users folder 3) Go to your admin folder (mine is vivek) 4) Search for .ssh folder, if you found it then just paste your pem file in that. Incase you didn't found it, then that indicates that you don't have a .ssh folder so you need to create that. 5) So just create a folder named as .ssh inside your admin folder and paste your pem file in that.
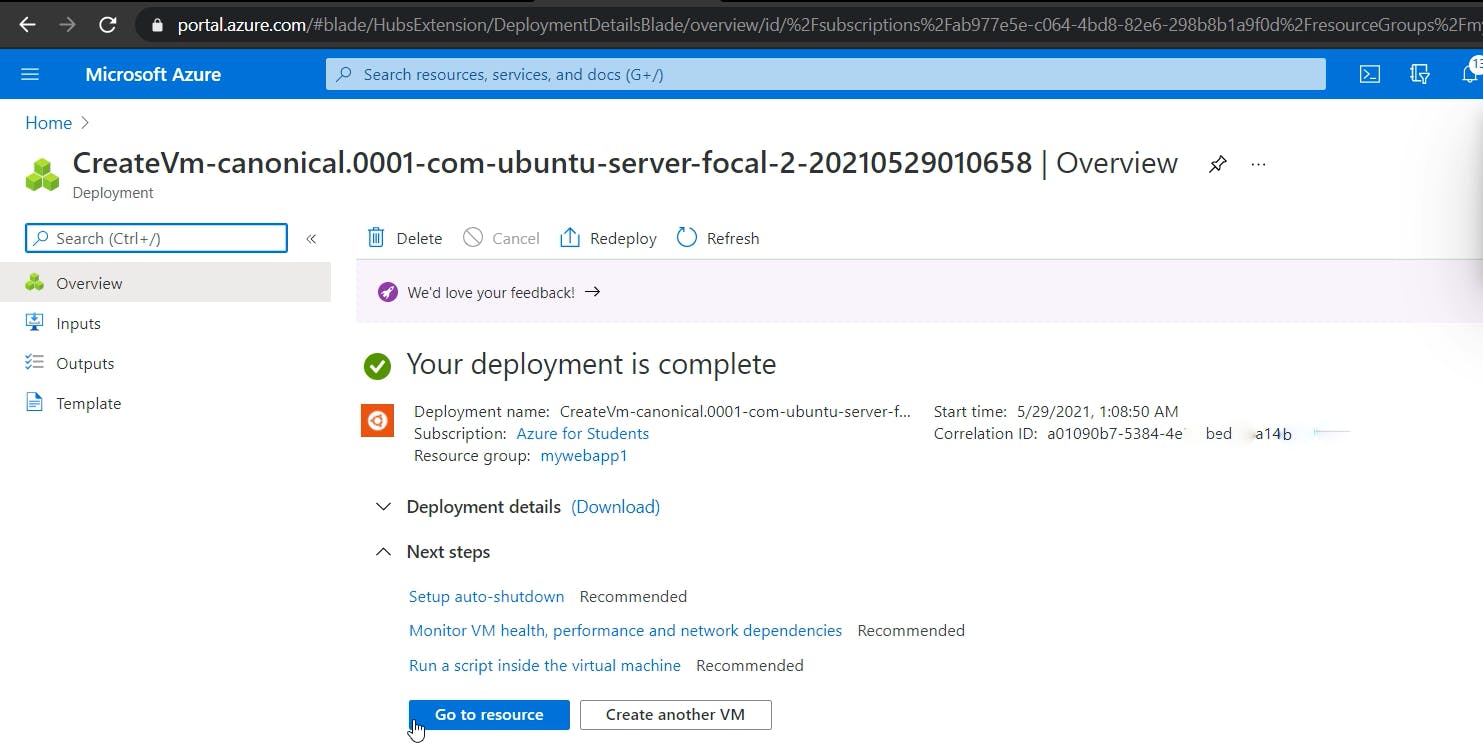
After that let's go back to our Microsoft Azure console, by this time our server would have been deployed. Click on Go to Resources
If you are using Windows then make sure you have Windows Terminal Installed in your PC, if you don't have that then download it from Microsoft store. It looks like this-
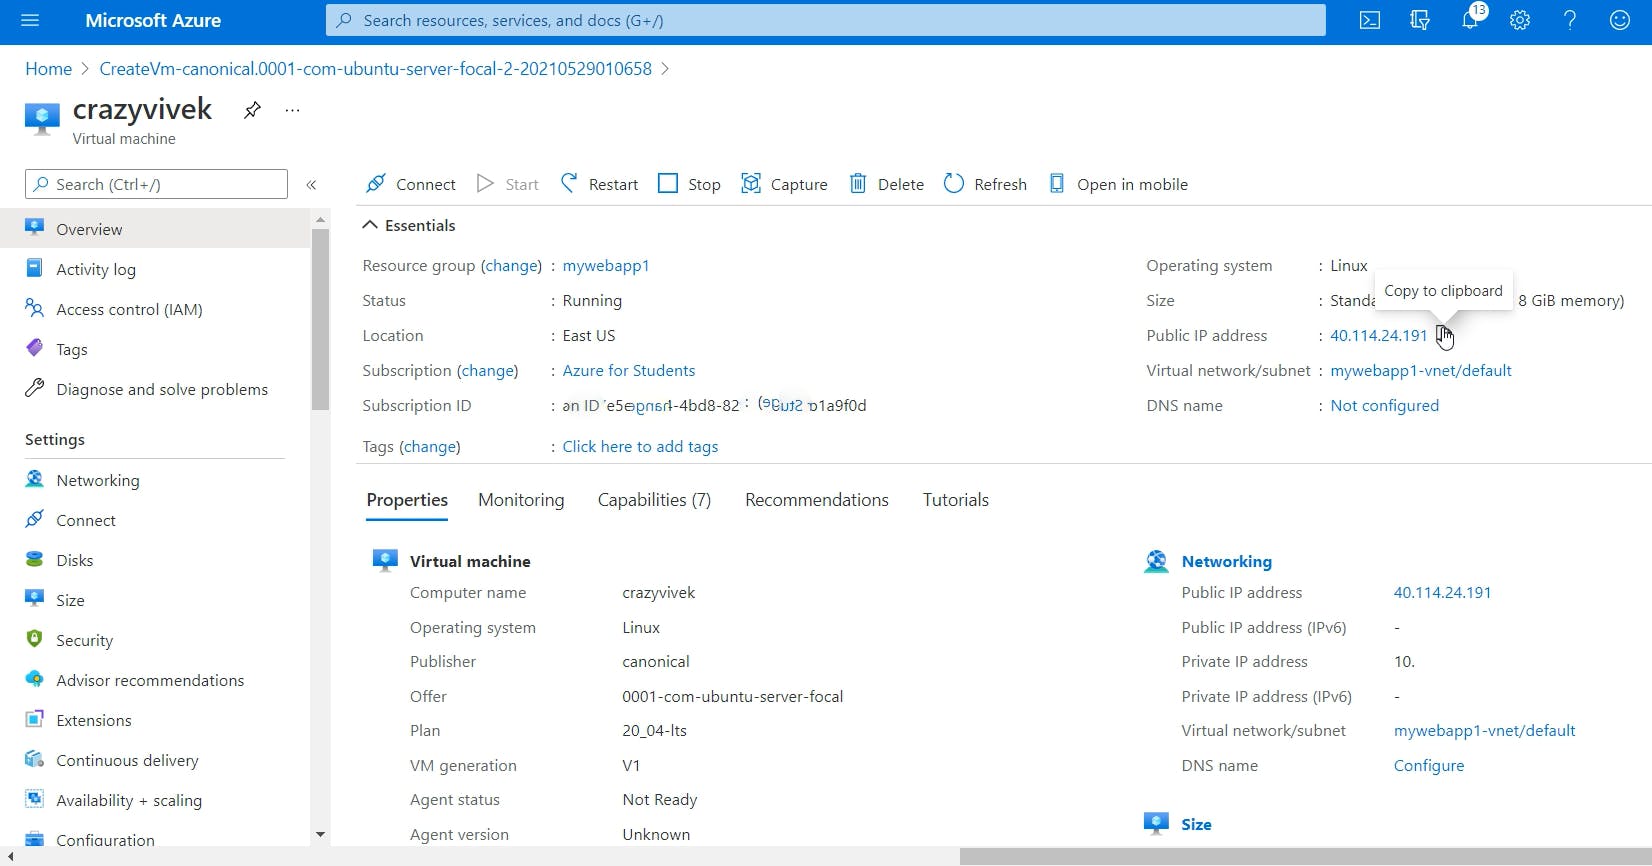
Now in Overview section, you can see all the details of your Server. Right now the most important thing for us is the public IP address of the server, because on that IP address our website will be displayed.
Now we will go inside our server. For that just click on Connect and choose SSH

After going into SSH, you will see that azure have already given you the scaffolded codes to connect you with your server which you can directly copy and paste it in the .ssh folder using terminal. Right now I will not go much deep into ssh (We will see that in PART 3). For now just copy the code as shown in below snap.

Now go to your terminal and open the .ssh folder from terminal
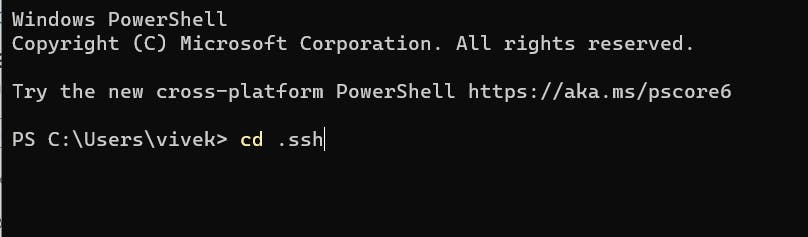
If you don't know how to open your folder using terminal then just go to the .ssh folder and right click anywhere inside the folder and select the option open windows terminal here. If you still didn't get just refer to any Youtube video you will get it.
Now paste the code which you copied from Microsoft Azure console, and just replace the with the name of your pem file as mine was crazyvivek_key.pem , You can check below.
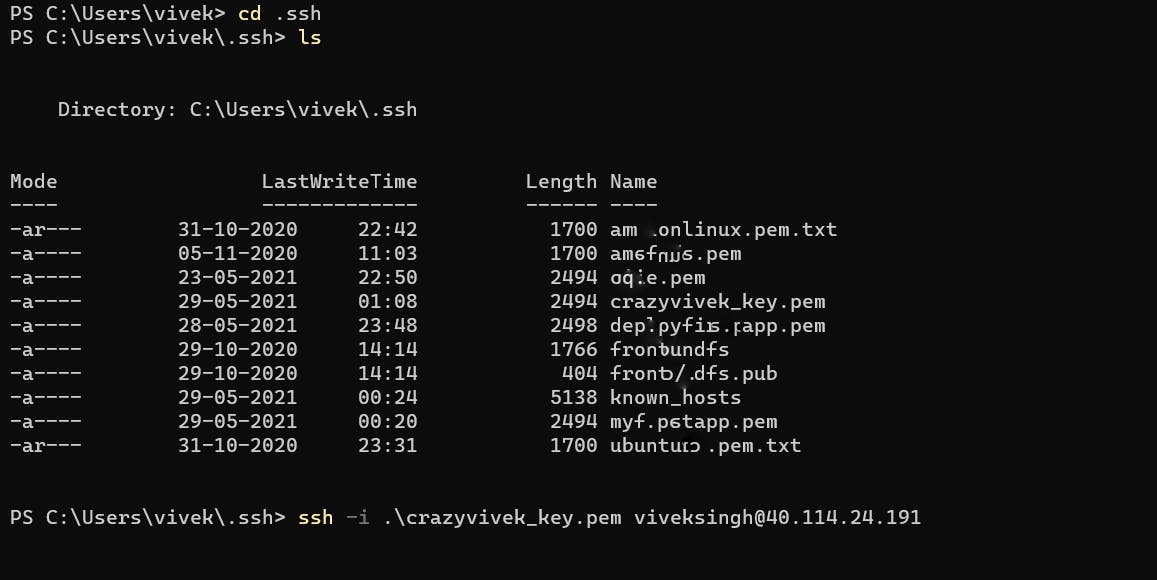
And Press Enter !!
Dammn , you are now at your server. Now just few steps more ...
Your Ubuntu server will look like this
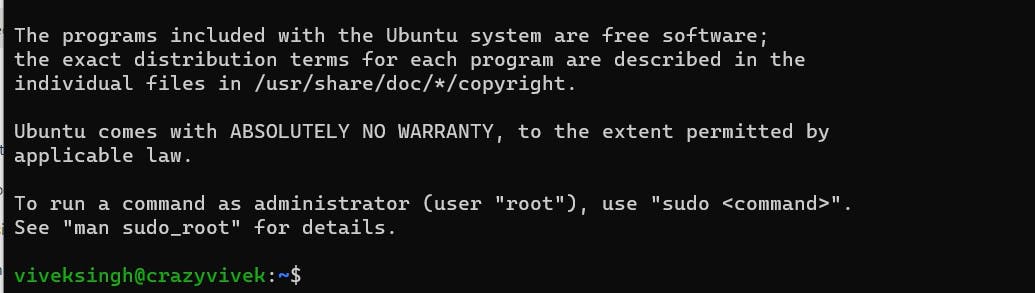 So after getting into any server we will first update and upgrade the server by running some basic terminal code.
To update use - sudo apt update
To Upgrade use - sudo apt upgrade
 After that upgrade.

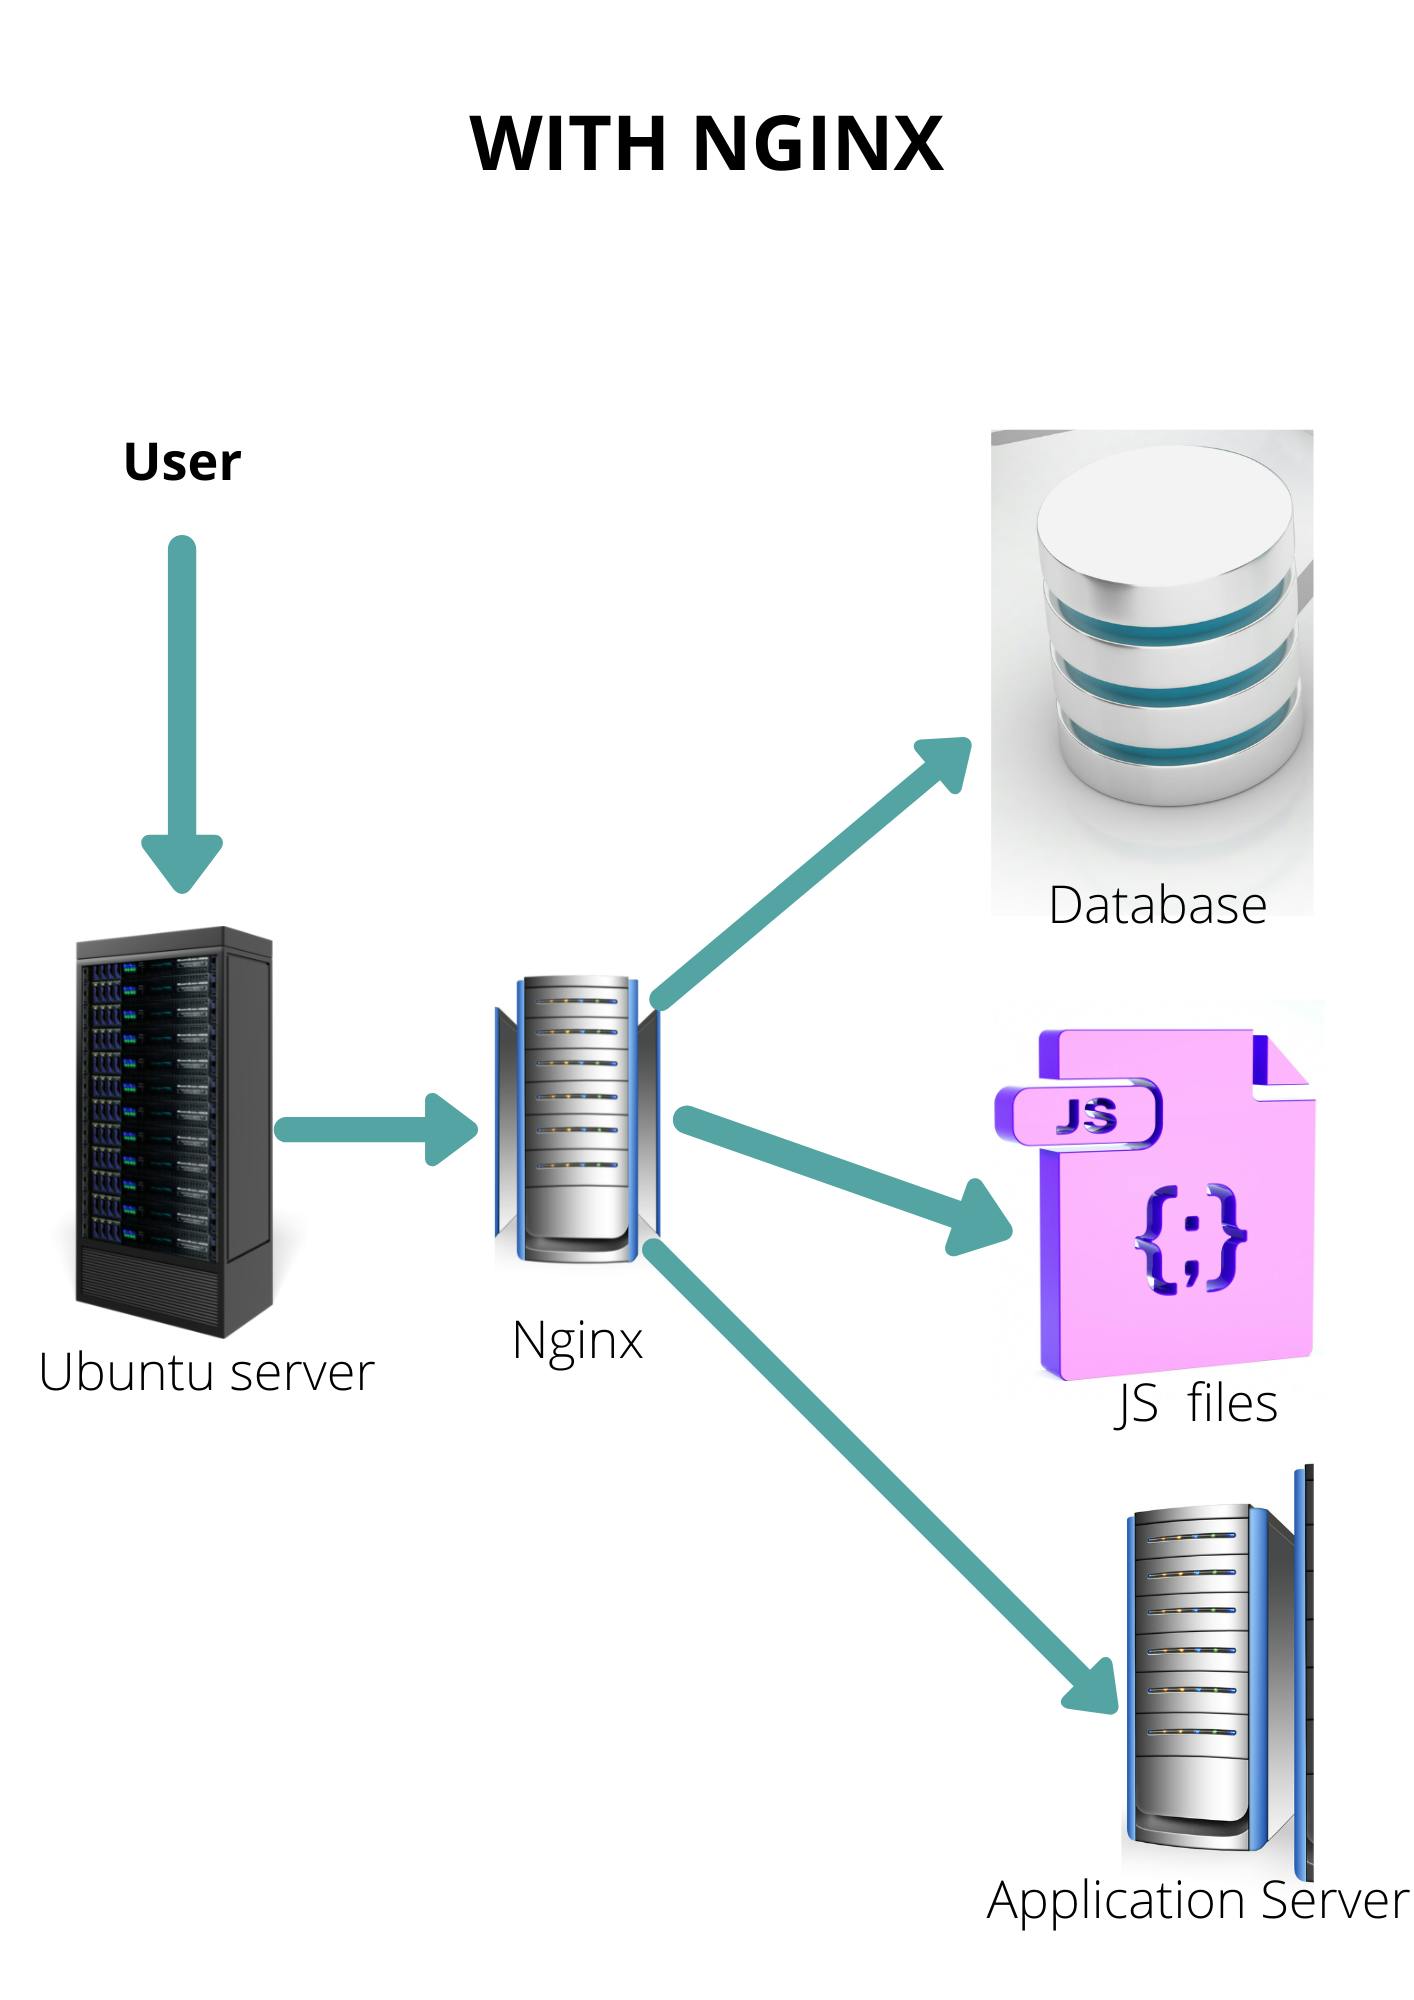
Now you have to install NGINX server into your Ubuntu server. NGINX is nothing but a webserver which tells Your Ubuntu server that where to send the request coming from user. I know I messed up Nginx definition for you ... but just look at the snap below then come again to read this ugly definition.
When Nginx is Not present your server won't be able to find whom to send the request coming from user, Your server will be confused whether to send the request to database, application server, or somewhere else.
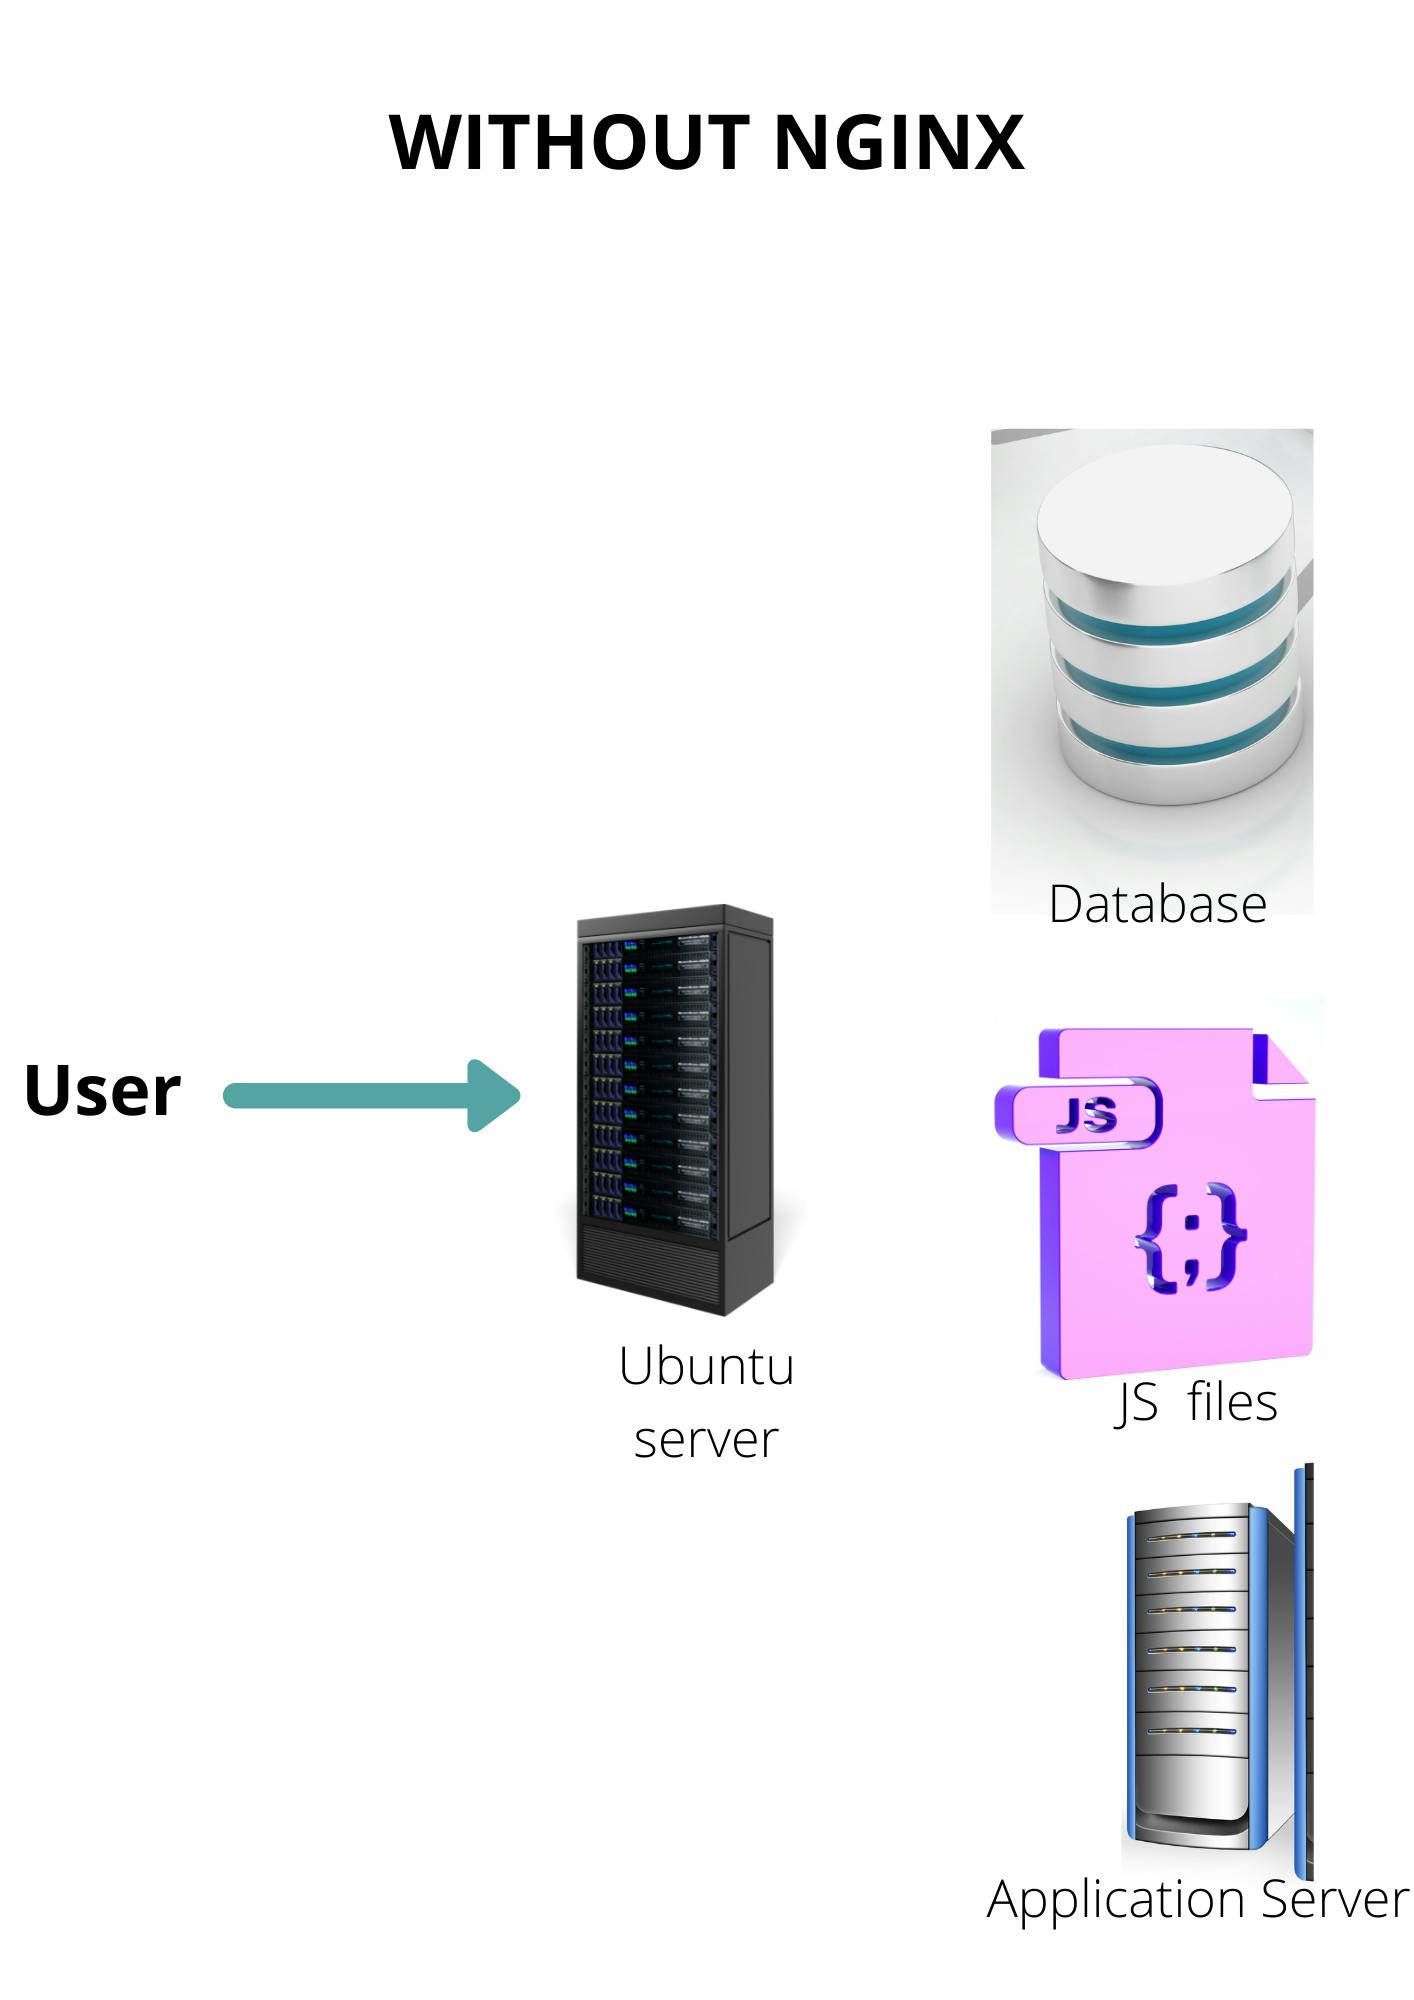 To save us from this situation webserver comes into the picture, here the webserver is Nginx and this guy is smart enough to find out whom to send request which is coming from user.
So let's install this smart guy in our server. Run the below code to install nginx
sudo apt install nginx
 Now let's start the nginx server
sudo service nginx start

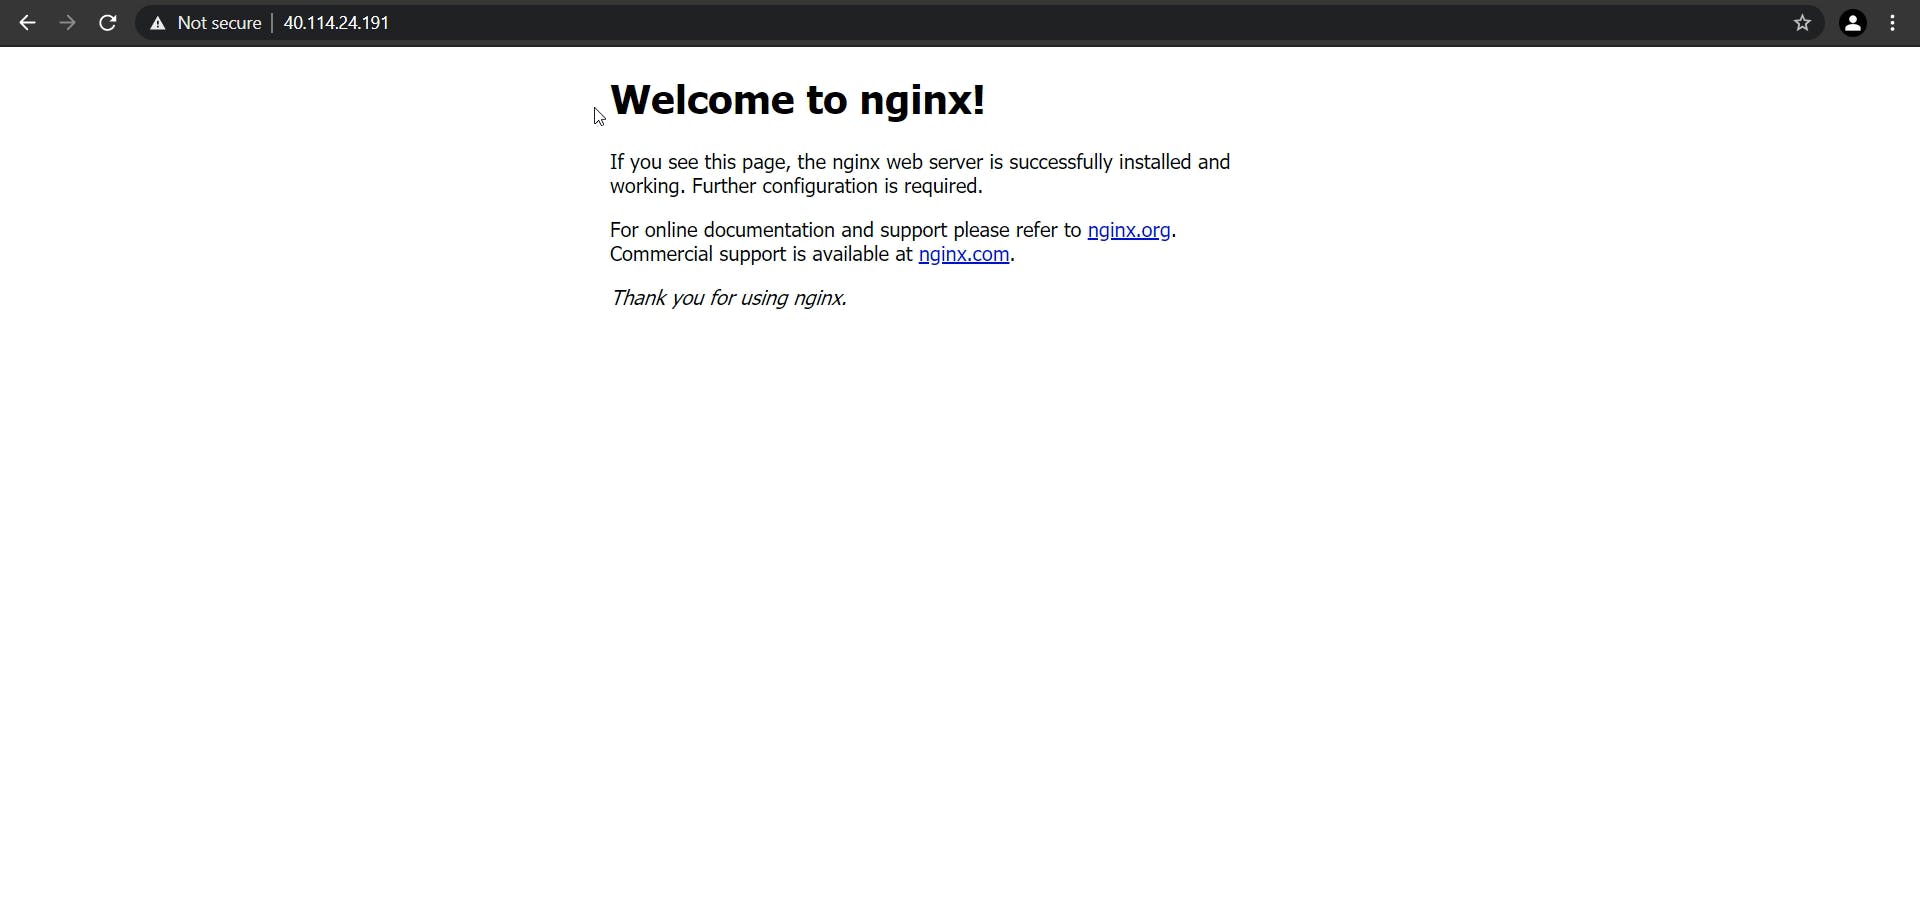
Your website is up, now you can go and copy your Public IP address from the Azure console and paste it in your browser. You will see the Nginx page.
We don't want this page we want something better! Well then you have to code it!!! Relax I have done the coding for you. Just you have to go to the path where you have to place all your code. So, let's go guys, the last step😁Bear with me!
To paste the code in terminal use ctrl+shift+v 😜
Go to the root user first, just run
sudo su
Go to the root path by running
cd ~
Go to the path where the current Nginx html file is located
cd /var/www/html
Now type ls to see what is present in that path
ls
You can see I have highlighted the html file of Nginx below -

Now remove this file by running
rm /var/www/html/index.nginx-debian.html
Now you have to clone my code in your server, just run the below code it will copy itself.
git clone github.com/asaayushisingh/Portfolio-page
Don't forget to follow me on github github.com/asaayushisingh and to give me stars
You can fork my repo and change the code according to you!!
You made it
Now go to your browser and type your public IP address and put slash Portfolio-page/
It should look like " youripaddress/Portfolio-page"
Note - You can move your file from Portfolio-page to var/www/html path, but we will cover that in next part
Now your Website will look like this -
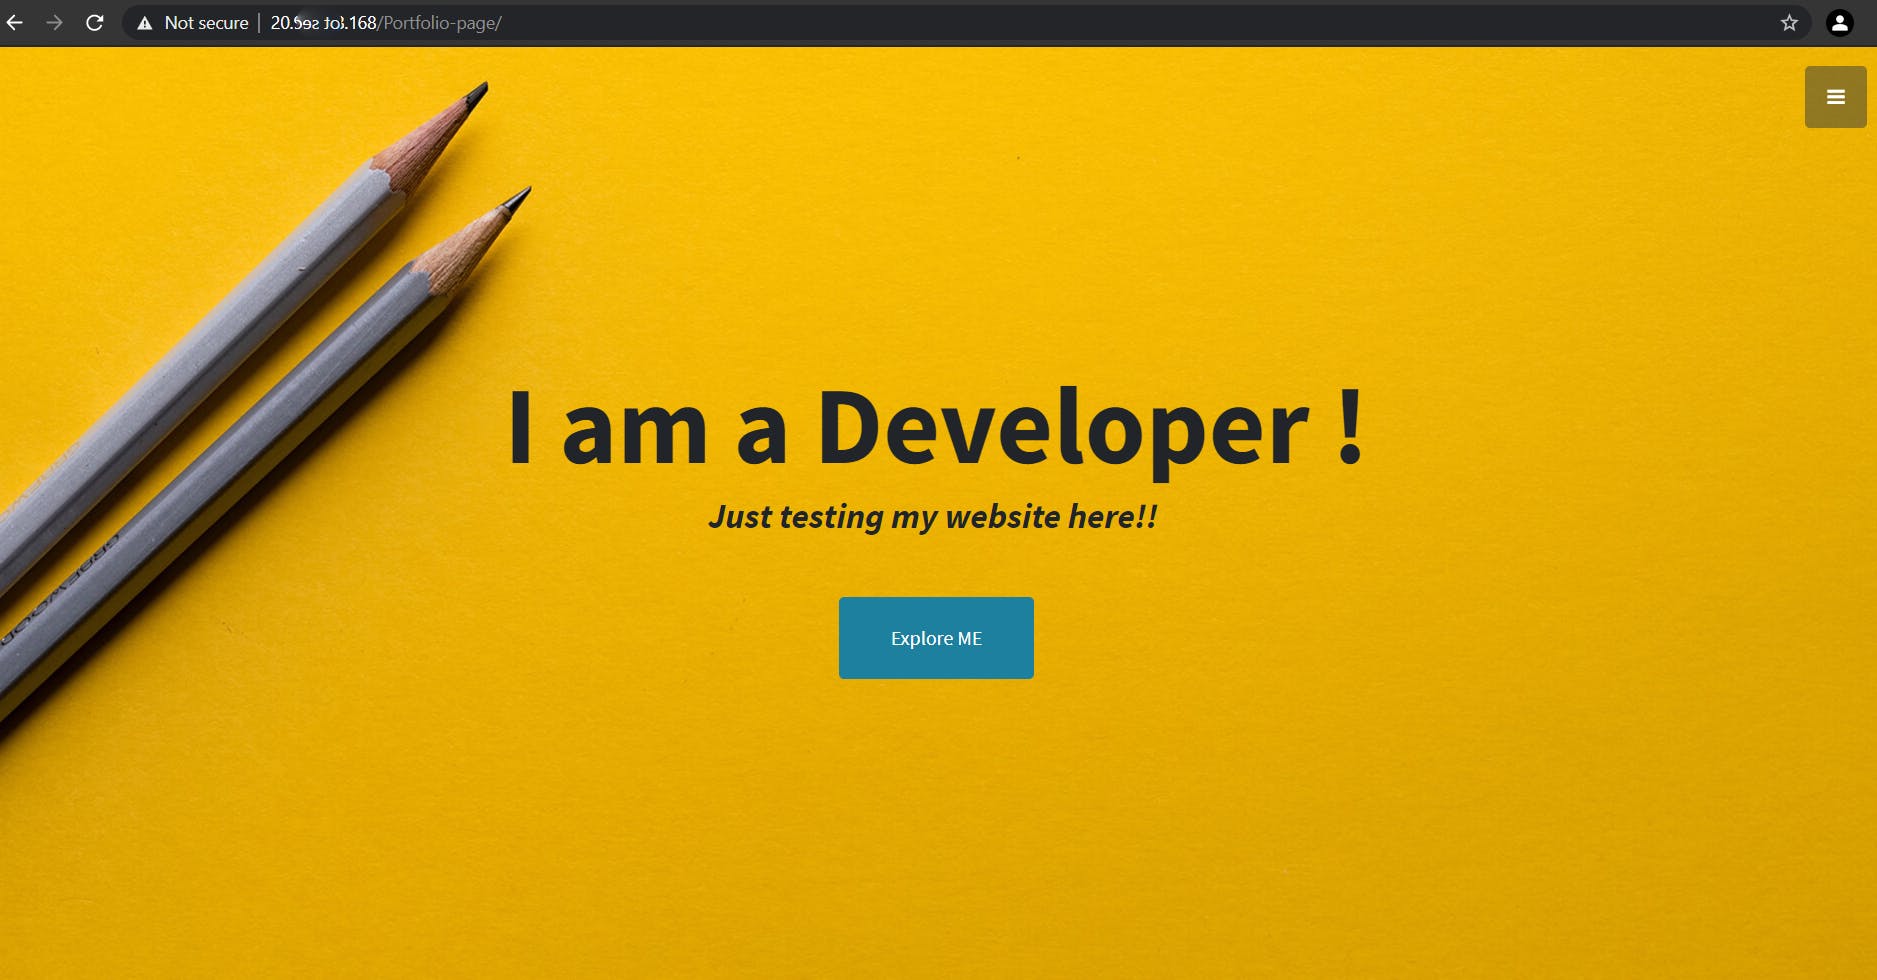
You literally Made it
Hope you like it. If you do so kindly hit the like button and follow me. Part 2 will come soon!!